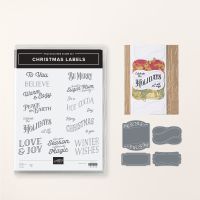
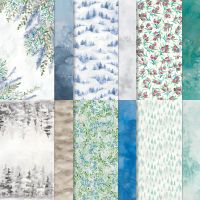
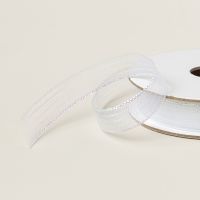
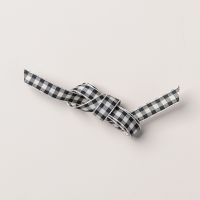
 Fun Fold Friday Christmas Labels Gift Card Holder & New Products UnveiledThank you so much for joining me for this week’s Fun Fold Friday! I had an absolute blast creating with the Christmas Labels and Winter Meadow Designer Series Paper. These festive patterns and labels are perfect for bringing some holiday cheer into your projects, and I loved showing you how to incorporate them into fun fold cards!I also had the exciting opportunity to unveil a few new products that I can’t wait for you to get your hands on! Stay tuned for more details on how you can use them in your upcoming projects. Happy crafting,
 Fun Fold Gift Card Holder:1. Card Base: Start with a piece of cardstock measuring 4 1/4” x 11 1/2”. Score it at5 1/2” and 2 3/4”. Fold the cardstock in half at the 5 1/2” score line, then fold the 2 3/4” scoreline towards the inside to create a flap.2. Designer Series Paper (DSP):• Cut two pieces of DSP, each measuring 2 3/4” x 4”.• Cut another piece of DSP measuring 4” x 5 1/4” for the large inside panel.3. White Cardstock: Cut a piece of white cardstock measuring 2 3/4” x 4” for theinside sentiment layer.4. Layering:• Adhere the two 2 3/4” x 4” pieces of DSP onto the corresponding front panels ofthe card.• Adhere the 4” x 5 1/4” DSP onto the large inside panel.• Adhere the white sentiment layer (2 3/4” x 4”) onto the inside of the card.5. Creating the Pocket: Fold the smaller 2 3/4” flap towards the inside of the card.Apply glue only to the edges of the flap, leaving the top open to create a pocket for the gift card.Use a circle punch or die to create a small notch at the top of the flap for easy access to the giftcard.6. Decorate: Stamp your sentiment on the white cardstock and decorate the card asdesired. You can add embellishments, ribbon, or stamped images to personalize your card.Now your fun fold gift card holder is complete! Perfect for any occasion.
No comments:
Post a Comment